A well-set extraction tray lets the clinician work smoothly and helps the assistant anticipate the next instrument. Here is a logical layout for a routine extraction.
Before you start
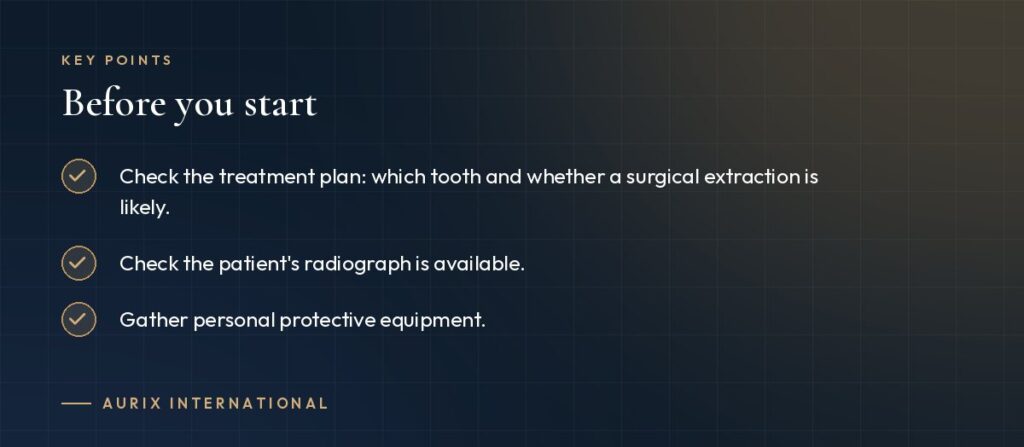
- Check the treatment plan: which tooth and whether a surgical extraction is likely.
- Check the patient’s radiograph is available.
- Gather personal protective equipment.
Tray layout (left to right)
- Examination: mirror, probe, college pliers.
- Anaesthesia: syringe, cartridges, needles, topical anaesthetic.
- Soft tissue: periosteal elevator (Molt No. 9).
- Luxation: luxators or straight elevators.
- Elevation: Cryer elevators (if multi-rooted).
- Delivery: the correct forceps for the tooth.
- Clean-up: surgical curette, haemostat.
- Closure (if required): needle holder, sutures, scissors.
- Consumables: gauze, cotton rolls, suction tips.
Back-up instruments
Keep a root-tip elevator and a second forceps pattern nearby, in sterile pouches, in case the tooth fractures.
Surgical extraction additions
- Scalpel handle and blade.
- Minnesota retractor.
- Surgical handpiece and burs.
- Irrigation syringe with sterile saline.
- Bone file or rongeur.
Post-operative
Prepare gauze packs and post-operative instruction sheets for the patient.
Tip: use a kit
A pre-assembled extraction kit in a cassette contains all of these instruments in the same order every time. See the Aurix Surgical Extraction & Luxation System.