For new dental assistants, receptionists who handle orders and sterilisation staff, the number of instruments can feel overwhelming. Grouping instruments into families makes them far easier to learn.
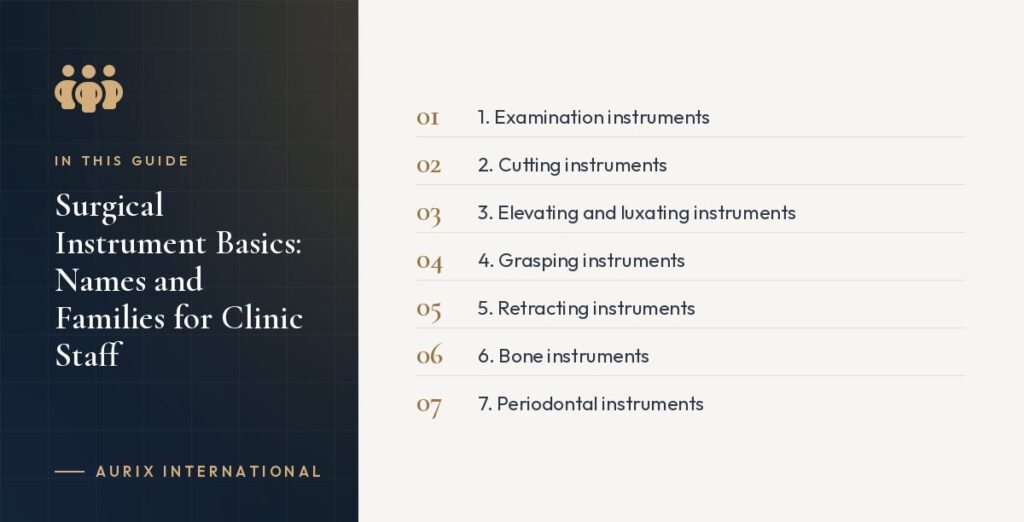
1. Examination instruments
Mirrors, explorers, probes and college pliers. Used at almost every appointment.
2. Cutting instruments
Scalpel handles and blades, scissors and periotomes. Used to cut soft tissue and ligament fibres.
3. Elevating and luxating instruments
Periosteal elevators lift soft tissue; root elevators and luxators loosen teeth.
4. Grasping instruments
Extraction forceps, tissue forceps, haemostats and needle holders. Recognised by their hinge or spring and gripping tips.
5. Retracting instruments
Minnesota, Seldin, Austin and Weider retractors hold cheeks, tongue and flaps away from the site.
6. Bone instruments
Rongeurs, bone files, bone curettes and osteotomes shape and manage bone.
7. Periodontal instruments
Scalers, curettes and probes for cleaning and assessing gum health.
8. Restorative instruments
Plastic filling instruments, condensers, carvers, burnishers and matrix retainers.
9. Orthodontic instruments
Pliers, cutters and ligature instruments.
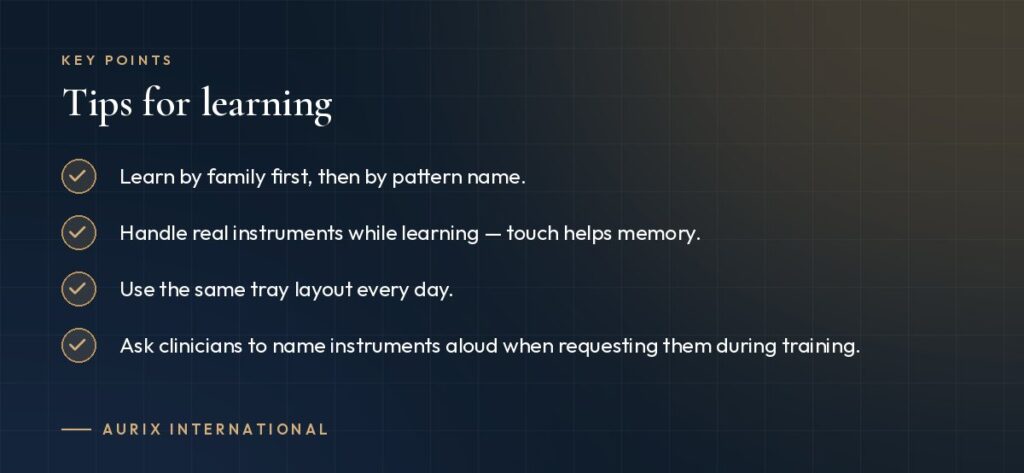
Tips for learning
- Learn by family first, then by pattern name.
- Handle real instruments while learning — touch helps memory.
- Use the same tray layout every day.
- Ask clinicians to name instruments aloud when requesting them during training.
Reading instrument markings
Most instruments are marked on the handle with a pattern name or number. Learning to read these markings helps when restocking and ordering. See our guide to reading an instrument catalogue.