Hygiene appointments follow a predictable sequence: assessment, scaling, root planing, polishing and education. A tray laid out in the same order lets the hygienist work efficiently and keeps instruments easy to find.
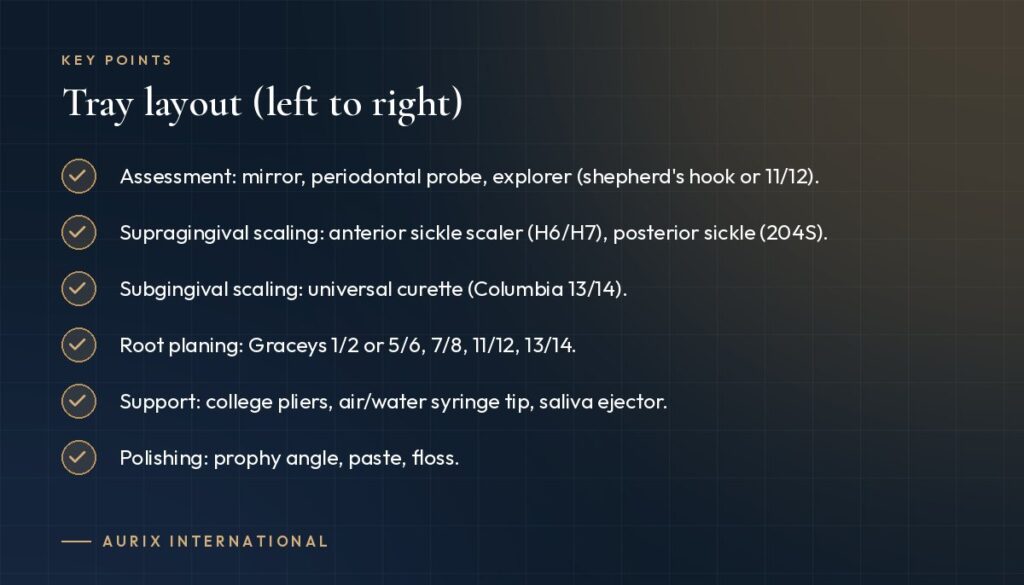
Tray layout (left to right)
- Assessment: mirror, periodontal probe, explorer (shepherd’s hook or 11/12).
- Supragingival scaling: anterior sickle scaler (H6/H7), posterior sickle (204S).
- Subgingival scaling: universal curette (Columbia 13/14).
- Root planing: Graceys 1/2 or 5/6, 7/8, 11/12, 13/14.
- Support: college pliers, air/water syringe tip, saliva ejector.
- Polishing: prophy angle, paste, floss.
- Charting and education: chart, disclosing agent, oral hygiene aids.
Ultrasonic scaling
If ultrasonic scaling is used, keep inserts or tips in a separate sterile pouch and place the handpiece on the opposite side from the hand instruments.
Tips
- Keep curettes in numerical order.
- Have a sharpening stone and test stick available.
- Include a spare explorer — fine tips are easily bent.
Patient comfort
Have topical anaesthetic and a cotton applicator available for sensitive areas.
Using a hygiene cassette
A dedicated hygiene cassette keeps instruments organised from use through sterilisation. See our guide to building a periodontal kit.