
Composite restorations involve many steps: isolation, preparation, etching, bonding, placement, curing and finishing. Setting the restorative tray in the right order prevents delays at critical moments, such as when composite must be placed before the bonding agent is contaminated.

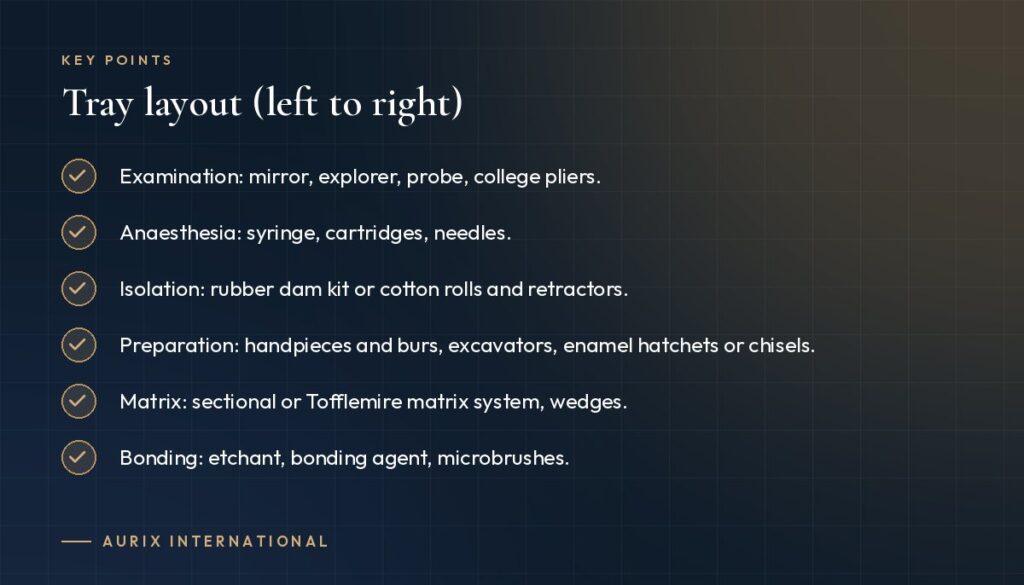
Restorative tray layout (left to right)
- Examination: mirror, explorer, probe, college pliers.
- Anaesthesia: syringe, cartridges, needles.
- Isolation: rubber dam kit or cotton rolls and retractors.
- Preparation: handpieces and burs, excavators, enamel hatchets or chisels.
- Matrix: sectional or Tofflemire matrix system, wedges.
- Bonding: etchant, bonding agent, microbrushes.
- Placement: composite, plastic filling instruments, condensers.
- Shaping: carvers, ball burnisher.
- Curing: curing light with protective shield.
- Finishing: finishing burs, discs, strips, articulating paper.
Restorative tray tips
- Have shade guides ready before isolation, while teeth are hydrated.
- Keep composite away from the operating light until needed.
- Prepare matrix and wedges before starting the bonding step.
Class II additions
Include a sectional matrix ring, contoured matrices and interproximal finishing strips.
Using a restorative kit
A composite filling set in a cassette keeps placement instruments together. See composite filling instrument sets.