Class II restorations are some of the most common procedures in general dentistry. Yet they are also among the hardest to get right. Without a proper wall on the missing side of the tooth, it is difficult to build a tight contact and a smooth, natural contour. That is exactly what a matrix band and retainer do. In this guide, we explain how the Tofflemire matrix system works, how to choose bands, and share a step-by-step placement method that gives better contacts every time.
What Is a Matrix Band and Retainer?
A matrix band is a thin strip of metal, usually stainless steel, that wraps around the tooth. In addition, it acts as a temporary wall so you can pack filling material against it. The matrix band retainer is the instrument that holds the band in place and tightens it around the crown.
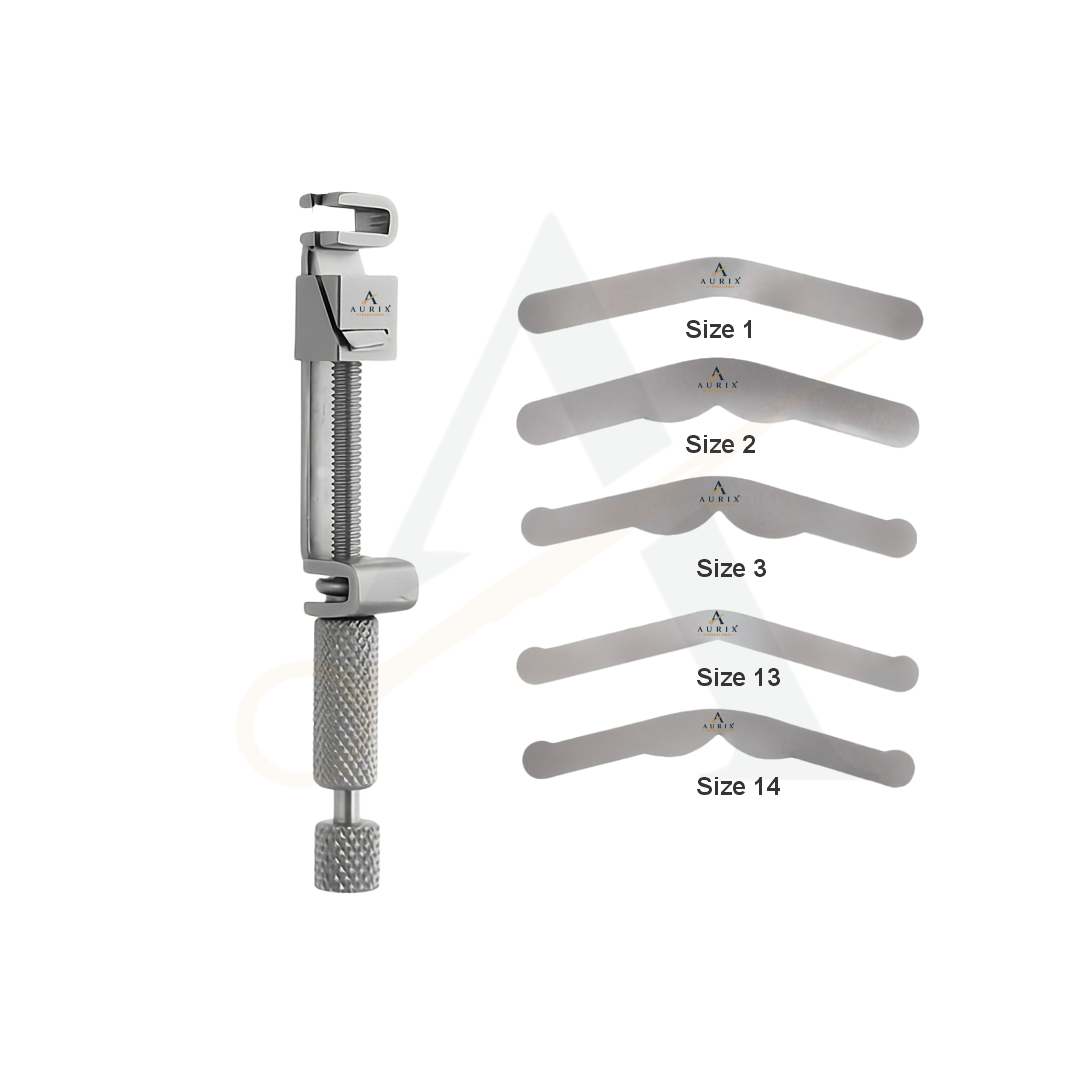
The most widely used system is the Tofflemire retainer, named after its inventor. Also, it has a slotted head that holds the band loop, a sliding vise that locks the band ends, and two knobs: one to tighten or loosen the band, and one to lock it.
Parts of a Tofflemire Retainer
- Head (guide slots): Holds the band loop and directs it to the correct side.
- Vise: Grips the ends of the band.
- Inner knob (spindle): Locks the band in the vise.
- Outer knob: Moves the vise to adjust the loop size and tighten the band.
Retainers come in straight and contra-angle designs. Moreover, the straight type is used from the buccal side. The contra-angle type is useful for lingual placement or tight access.
Choosing the Right Matrix Band
Bands vary in thickness, height and shape:
- Universal bands: Straight bands that suit most premolars and molars.
- MOD or extended bands: Taller at the gingival side to cover deep boxes.
- Thickness: Common options are 0.035 mm and 0.05 mm. Thinner bands help create tighter contacts, while thicker bands are more rigid.
Choose a band that extends just past the gingival margin and about 1–2 mm above the marginal ridge of the adjacent tooth.
Step-by-Step Matrix Band Retainer Placement
- Prepare the retainer: Turn the outer knob until the vise is near the guide slots, then loosen the inner knob.
- Form the loop: Next, fold the band into a loop with the smaller edge towards the gum and insert the ends into the vise.
- Lock the band: Then, tighten the inner knob so the band is secure.
- Place on the tooth: After that, slide the loop over the crown with the retainer on the buccal side and the slots facing the gum.
- Tighten: Turn the outer knob until the band fits snugly around the cervical area.
- Wedge: Then, insert a wooden or plastic wedge in the embrasure to seal the gingival margin.
- Burnish: Finally, use a burnisher to shape the band against the adjacent tooth for a better contact.
Removing the Matrix Correctly
After the restoration is placed and cured, loosen the inner knob first to release the band from the retainer. Then, remove the retainer, and carefully slide the band out towards the occlusal side. Remove the wedge last. In fact, this order reduces the risk of breaking the new marginal ridge.
Tips for Better Contacts
- Pre-contour or burnish the band before placement.
- Always use a wedge to close the gingival gap and separate the teeth slightly.
- Check the band is tight at the cervical area but not crushing the gum.
- Use rubber dam isolation for a dry, clean field.
Quality Features of a Matrix Band Retainer
- Stainless steel construction that resists rust after repeated sterilization.
- Smooth knob action with precise threads.
- Secure vise that holds bands without slipping.
- Bands with consistent thickness and clean edges.
Complete Your Restorative Workflow
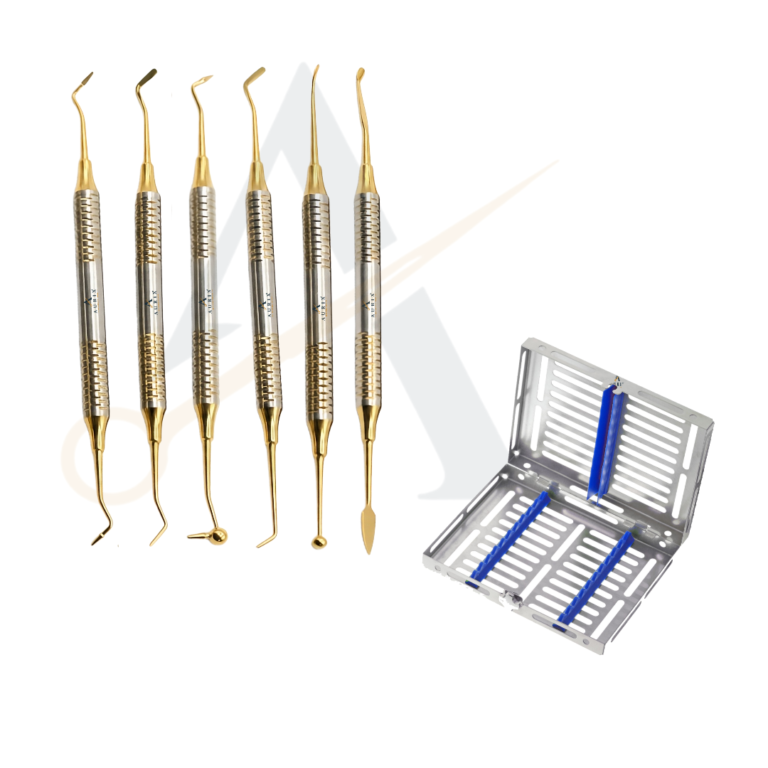
A matrix system works hand in hand with other restorative tools. Furthermore, pair your retainer with a composite filling set for placement and shaping, and a rubber dam kit for isolation.
Want to learn more about the background? Read this overview of dental restorations on Wikipedia. When you are ready to buy, our team will help you choose the right matrix band retainer for your clinic.
Matrix Band Retainer FAQs
Can matrix bands be reused?
Most metal bands are single-use. Retainers, however, are reusable after cleaning and sterilization.
Is the Tofflemire system suitable for composite?
Yes. It works for both amalgam and composite, though some clinicians also use sectional matrices for composite.
Do you supply bands in bulk?
Yes. Aurix International supplies retainers and bands in wholesale quantities.
View our full range of matrix band and retainer in our catalogue products.
Order A Matrix Band Retainer from Aurix International
Aurix International manufactures dental and surgical instruments in Sialkot, Pakistan, and supplies clinics, hospitals and distributors worldwide. We offer wholesale pricing, private labelling, custom kits and flexible order quantities. Need a mixed tray? Try our Medical Kit Builder, or contact us today for a fast quote.