Opening a new dental practice means hundreds of decisions in a few months. Your dental instruments supplier is one that will stay with you long after the paint has dried — and getting the first order right saves money, stress and awkward gaps on opening day. This checklist walks through every step: defining services, calculating quantities, choosing a supplier, budgeting, scheduling delivery and preparing your team.
Key takeaways
- Plan at least three sets of each procedure kit per operatory.
- Choose one main supplier from the start for consistent patterns.
- Order 6–8 weeks before opening; longer for custom or branded kits.
- Budget for cassettes, pouches and a reserve for instruments you discover you need.
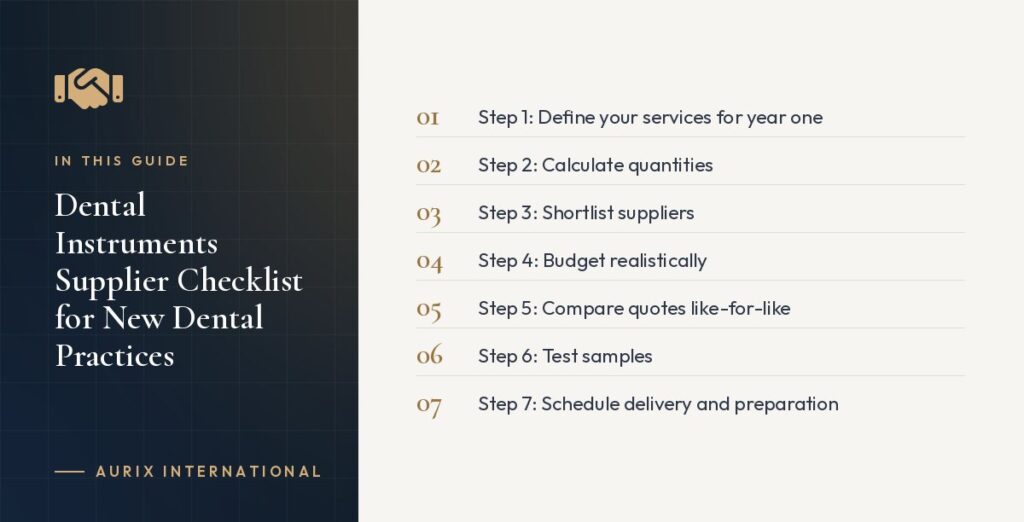
Step 1: Define your services for year one
List the procedures you will actually offer in the first twelve months — examinations, hygiene, restorative, extractions, endodontics, implants, orthodontics. Your instrument list flows from this, and it stops you buying specialist instruments you will not use for years.
Step 2: Calculate quantities
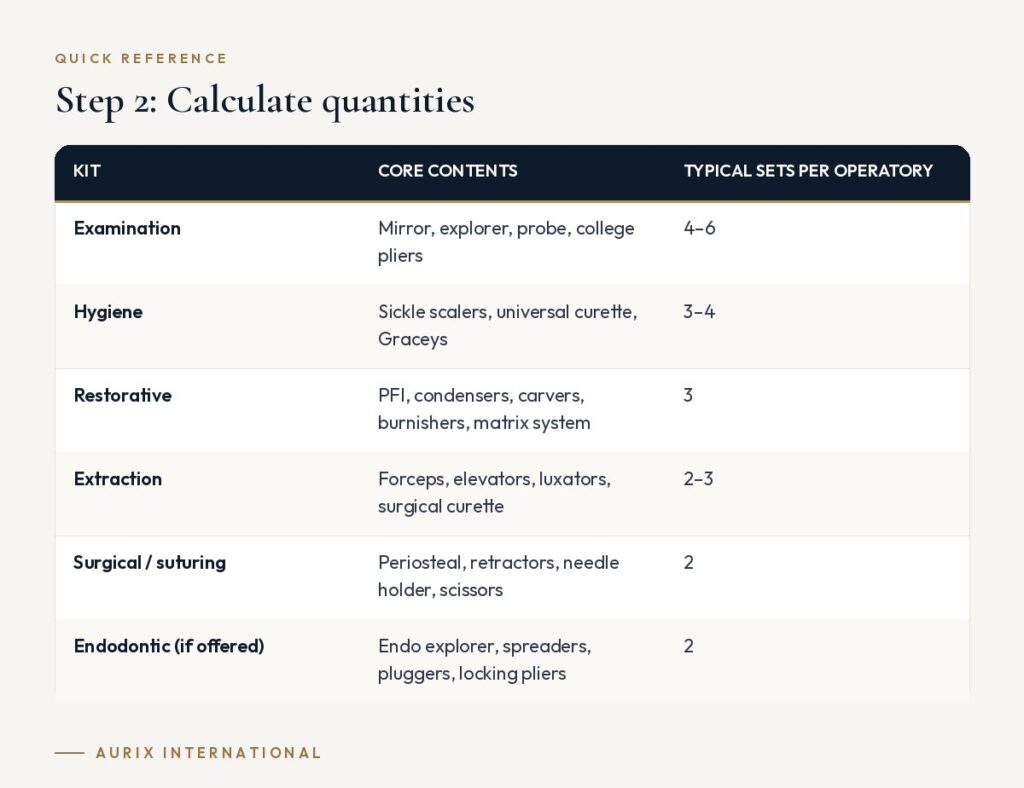
The most common new-practice mistake is ordering one set of each kit per room. Instruments need time to be cleaned, dried, packaged and sterilised, so you need several sets in circulation.
Rule of thumb: sets per kit per room = patients per day using that kit ÷ cycles per set per day, with a minimum of three (one in use, one in reprocessing, one ready).
| Kit | Core contents | Typical sets per operatory |
|---|---|---|
| Examination | Mirror, explorer, probe, college pliers | 4–6 |
| Hygiene | Sickle scalers, universal curette, Graceys | 3–4 |
| Restorative | PFI, condensers, carvers, burnishers, matrix system | 3 |
| Extraction | Forceps, elevators, luxators, surgical curette | 2–3 |
| Surgical / suturing | Periosteal, retractors, needle holder, scissors | 2 |
| Endodontic (if offered) | Endo explorer, spreaders, pluggers, locking pliers | 2 |
For a full item-by-item list, see our new clinic instrument checklist.
Step 3: Shortlist suppliers
- Do they cover all your procedures?
- Do they offer pre-assembled kits matching your services?
- Can they build custom kits with your preferred patterns?
- Will they advise on quantities and quote against your full list?
- Can they deliver on a firm date?
Start with our top 10 US suppliers and add specialist instrument suppliers for comparison. Use the 15 vetting questions to narrow the list.
Step 4: Budget realistically
Instruments are a smaller line than chairs or imaging, but they are easy to underestimate. Split the budget into three parts:
- Core kits for day one — the bulk of the spend.
- Spares and consumables — extra mirrors and explorers, cassettes, pouches, indicators, lubricant, sharpening stones.
- Reserve (10–15%) — for instruments you discover you need once patients start booking.
Step 5: Compare quotes like-for-like
Send every supplier the same list with patterns and quantities. Compare kit prices including cassettes, shipping, warranty and payment terms. Our quote comparison method includes a request-for-quote template.
Step 6: Test samples
Order a handful of key instruments — an extraction forceps, an elevator, a curette, a mirror — and test them clinically and through your autoclave before committing.
Step 7: Schedule delivery and preparation
| When | Action |
|---|---|
| 10–12 weeks before opening | Finalise services and instrument list |
| 8–10 weeks | Quotes and samples |
| 6–8 weeks | Place order (earlier for custom or branded kits) |
| 3–4 weeks | Receive, check against order, log inventory |
| 1–3 weeks | Clean, inspect, package, sterilise; train team on tray layouts |
New instruments are usually supplied non-sterile and must be reprocessed before first use, following the manufacturer’s instructions.
Step 8: Prepare your team
Use instrument preparation as training: assistants learn instruments and layouts while packaging them. Our guides on setting up an extraction tray and training assistants help.
Step 9: Set up reordering
Record SKUs, save kit configurations with your supplier and set reorder points for high-turnover items so you never run short.
Common first-order mistakes
- Buying the cheapest instruments, then replacing them within a year.
- Mixing patterns from several suppliers, so trays are inconsistent.
- Too few sets per room, creating sterilisation bottlenecks.
- Forgetting cassettes, pouches, indicators and lubricant.
- Ordering too late for custom or branded kits.
Example: a two-operatory general practice
A new practice expecting 20 patients a day across two operatories might start with 10 examination sets, 6 hygiene kits, 6 restorative kits, 4 extraction kits and 3 surgical/suturing kits, plus spare mirrors, explorers and curettes. Choosing pre-assembled kits in cassettes would let the team set up rooms identically from day one.
Choosing one main supplier
New practices benefit from choosing one main dental instruments supplier from the start. Patterns stay consistent, reorders are simple and you build a relationship that pays off as the practice grows. Keep a back-up supplier for emergencies, but avoid spreading core instruments across many vendors. Compare large distributors in our top 10 US supplier guide with specialist instrument suppliers before deciding.
Frequently asked questions
Should a new practice buy kits or individual instruments?
Kits are faster to order and standardise trays immediately; custom kits keep your preferred patterns.
How early should I order?
Six to eight weeks before opening for standard items; allow more for custom or branded kits.
Can I get wholesale pricing as a new practice?
Often, if the opening order is large enough. Ask about wholesale accounts.
Next steps
Aurix helps new practices plan their first instrument order. Explore pre-assembled kits, design trays in the kit builder or request a new-practice quote.