The dental explorer is one of the first instruments a dental student learns to use. Even so, it takes years of practice to use it well. With a light touch, an explorer can reveal rough calculus, open restoration margins and defects that the eye alone may miss. In this article, we look at the main dental explorer types, correct technique, and how to choose an explorer that gives reliable feedback.

What Is a Dental Explorer?
A dental explorer is a hand instrument with a thin, flexible, sharp-pointed tip. When you glide the tip over a tooth surface, vibrations travel up the shank to your fingers. In addition, this tactile feedback tells you whether a surface is smooth, rough or sticky. For this reason, the explorer works like an extension of the clinician’s sense of touch.
Popular Dental Explorer Patterns
Shepherd’s Hook (#23)
The most common explorer. Its curved, hook-like tip is ideal for checking occlusal surfaces, pits and fissures, and restoration margins on accessible teeth.
Pigtail and Cowhorn (#2, #3)
These have curved shanks that wrap around teeth. Also, they are useful for proximal surfaces and for detecting subgingival calculus in shallow pockets.
Orban (#20)
The Orban explorer has a bent working end that sits flat against the root. Therefore, it adapts well to anterior teeth and deeper areas.
ODU 11/12
This design has a long, angled shank that reaches posterior root surfaces and deep pockets. Moreover, hygienists often prefer it for calculus detection.
Double-Ended Combinations
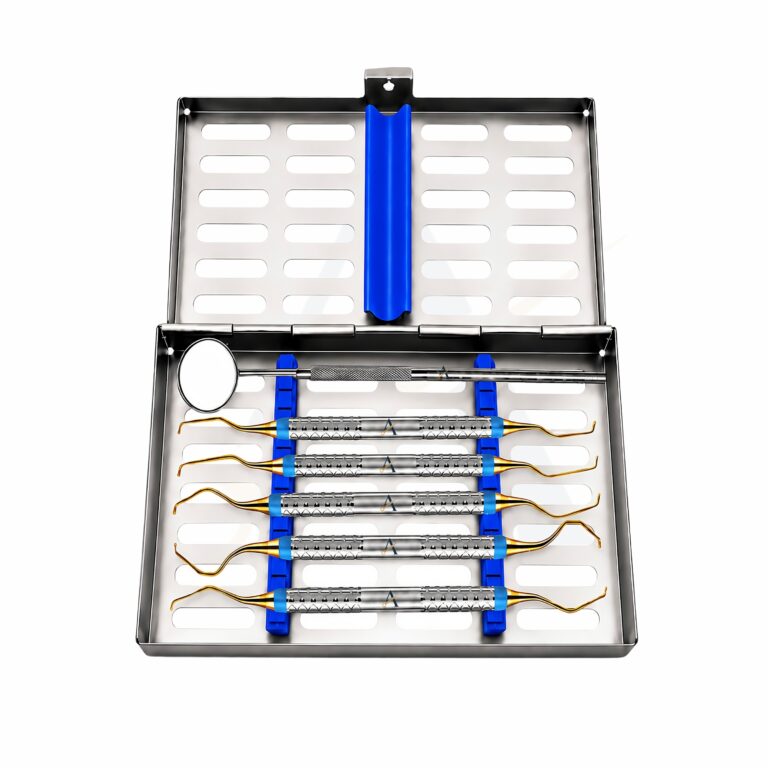
Many explorers combine two patterns, or an explorer and a probe, on one handle. In fact, this saves space on the tray and reduces instrument changes.
How to Use a Dental Explorer Correctly
- Use a modified pen grasp. First, hold the instrument lightly, so you can feel small vibrations.
- Establish a finger rest. Next, a stable rest on a nearby tooth gives control and prevents slips.
- Keep the tip in contact. Then, adapt the side of the tip, about 1–2 mm, to the tooth surface.
- Use light, overlapping strokes. Move in short vertical or oblique strokes around the tooth.
- Interpret the feedback. Finally, a catch or change in texture often signals calculus, a rough margin or a defect.
Note that modern guidance recommends a gentle approach on early enamel lesions. Heavy probing on soft enamel can damage it. Therefore, combine the explorer with good lighting, drying and visual inspection.
What Makes a Good Dental Explorer?
- Fine, tapered tip: A thin tip gives clearer feedback and better access.
- Correct flexibility: The shank should flex slightly, but spring back to shape.
- Quality stainless steel: Good steel keeps its point and resists corrosion.
- Light handle: Heavy handles dampen vibration, so lighter hollow handles are often better for tactile work.
- Textured grip: A knurled or ridged handle keeps control even with wet gloves.
Caring for Explorers
Explorer tips are delicate. Therefore, handle them carefully during cleaning and packing. Furthermore, use cassettes or tip protectors to prevent bent points. Inspect tips under magnification from time to time. If a tip is bent, blunt or broken, replace the instrument, because a damaged tip gives false feedback.
Unlike scalers, explorers are not usually sharpened. Their fine tip is designed as a detection tool, not a cutting tool.
Explorers in the Complete Exam Setup
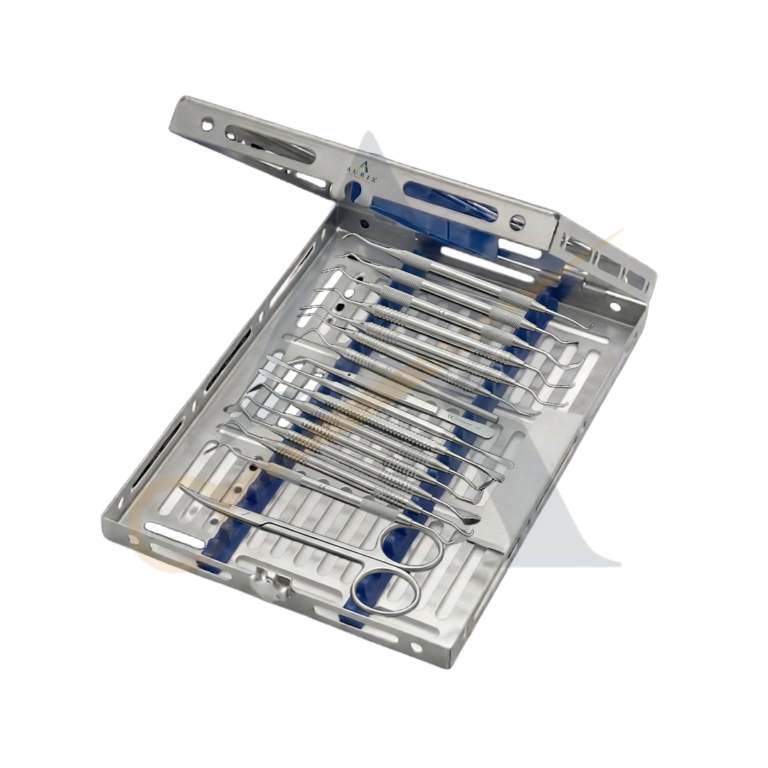
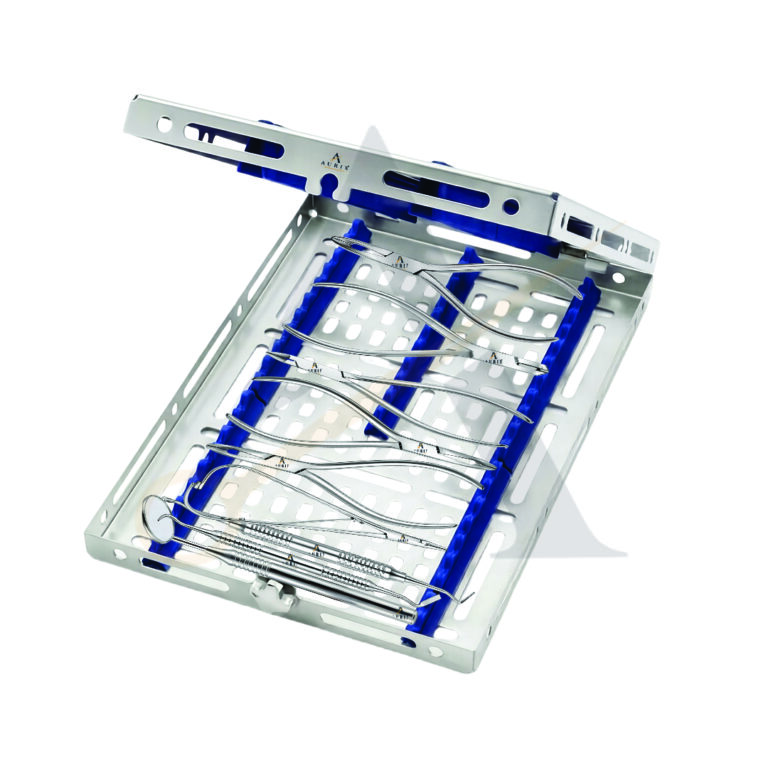
An explorer is part of the basic examination kit, alongside a mirror, a probe and tweezers. In addition, you can find these in our dental diagnostic instruments range. For calculus removal after detection, pair your explorers with dental scalers and Gracey curettes.
Want to learn more about the background? Read this overview of explorer instruments on Wikipedia. When you are ready to buy, our team will help you choose the right dental explorer for your clinic.
Frequently Asked Questions
Which explorer should a new clinic buy first?
Start with the #23 shepherd’s hook for general exams. Then add an ODU 11/12 or pigtail for periodontal assessment.
How long does an explorer last?
With careful handling, many explorers last several years. Also, replace them once the tip loses its shape or sharpness.
Can I order explorers in bulk?
Yes. Aurix International supplies explorers in wholesale quantities, with private labelling options for distributors.
Moreover, see our full dental explorer range in our catalogue to find the right patterns for your team.
Order A Dental Explorer from Aurix International
Aurix International manufactures dental and surgical instruments in Sialkot, Pakistan, and supplies clinics, hospitals and distributors worldwide. We offer wholesale pricing, private labelling, custom kits and flexible order quantities. Need a mixed tray? Try our Medical Kit Builder, or contact us today for a fast quote.