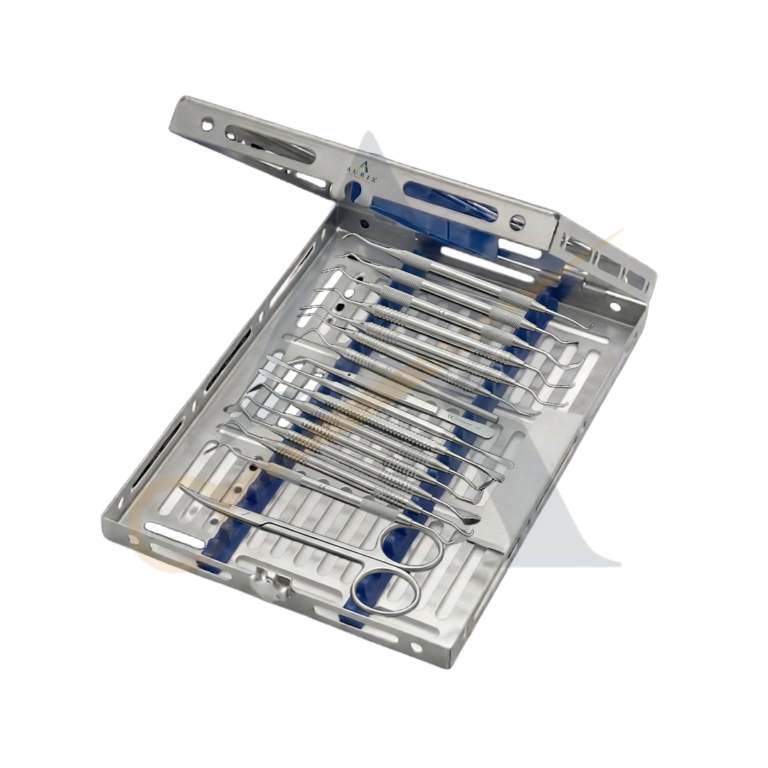
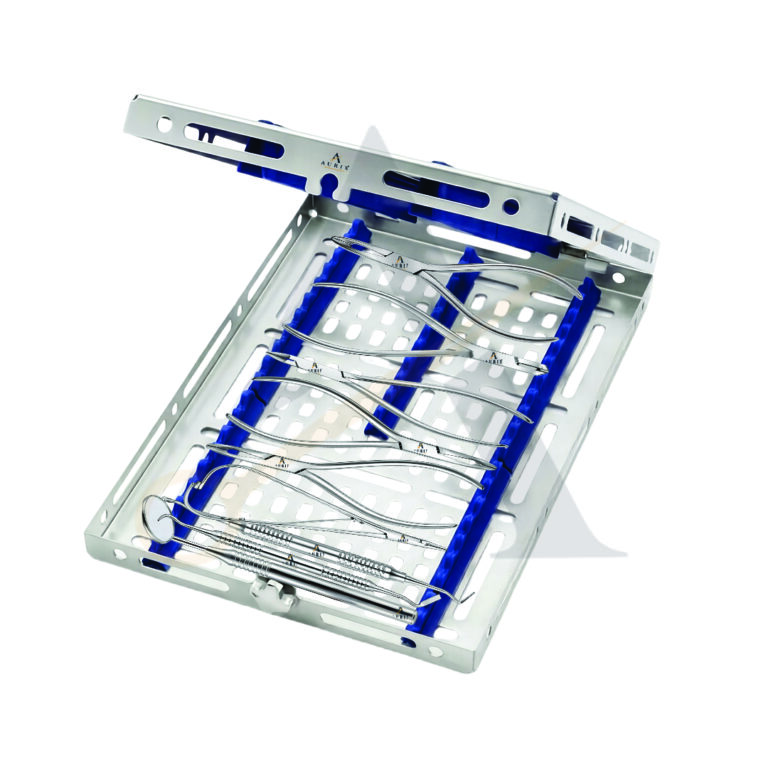
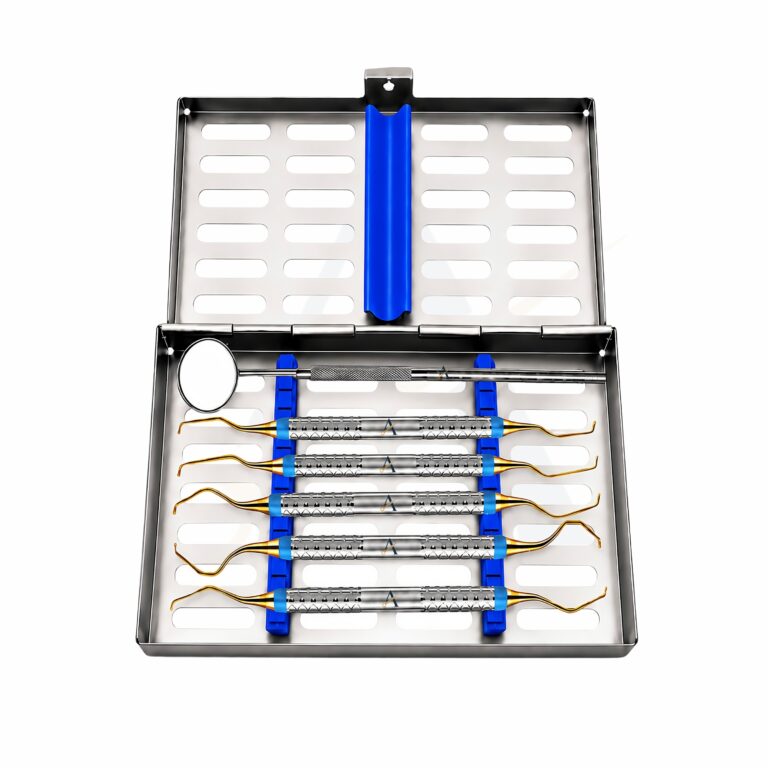
Moisture is the enemy of many dental procedures. Saliva, blood and breath humidity can weaken adhesive bonds and contaminate root canals. The rubber dam is the most reliable way to keep a tooth clean and dry. It also protects patients from swallowing small instruments and irrigating solutions. Even so, some clinicians skip it because they think placement is slow or difficult. With the right rubber dam kit and a simple method, placement can take just a minute or two. This guide explains what is in a rubber dam kit, the benefits of isolation and a quick step-by-step placement technique.

Benefits of Rubber Dam Isolation
- Better bonding: A dry field improves the bond strength of adhesives and composites.
- Infection control in endodontics: The dam keeps saliva and bacteria out of the root canal.
- Patient safety: It prevents swallowing or inhaling files, clamps and small debris.
- Protection from chemicals: Irrigants such as sodium hypochlorite stay away from soft tissue.
- Improved visibility and access: The tongue and cheeks are held away from the tooth.
- Efficiency: Fewer interruptions for rinsing and suction mean faster work.
What Is Inside a Rubber Dam Kit?
1. Rubber Dam Punch
The punch makes clean, round holes in the dam sheet. In addition, it usually has a rotating table with five or six hole sizes, from small for lower incisors to large for molars. A sharp punch is important, because ragged holes can tear and leak.
2. Clamp Forceps
Clamp forceps, such as the Brewer or Ivory style, open the clamp and carry it to the tooth. They also remove it at the end of treatment.
3. Rubber Dam Clamps
Clamps anchor the dam to the tooth. They come in many shapes:
- Molar clamps (e.g. #W8A, #14, #26)
- Premolar clamps (e.g. #W2A, #1, #2)
- Anterior clamps (e.g. #9 butterfly clamp)
- Winged and wingless designs
4. Rubber Dam Frame
The frame, often a Young’s frame, stretches the dam sheet and holds it away from the face. Metal and plastic frames are available; plastic frames are radiolucent, which is helpful during endodontic X-rays.
5. Dam Sheets and Accessories
Latex or latex-free sheets, a hole template or stamp, floss ligatures and wedging cords complete the kit.
Quick Placement Technique (Clamp First)
- Select the clamp. First, try it on the tooth to check it is stable with four-point contact.
- Tie floss to the clamp bow. Next, this safety step lets you retrieve the clamp if it breaks or slips.
- Punch the sheet. Then, use a template to mark the tooth positions and choose the right hole size.
- Place the clamp on the tooth with the clamp forceps.
- Stretch the sheet over the clamp and tooth.
- Attach the frame and pull the sheet tight.
- Floss the sheet through the contacts and invert the edges to seal.
Other techniques, such as placing the clamp and sheet together (wing technique), can be even faster once you are comfortable.
Tips for Easier Placement
- Lubricate the underside of the sheet around the holes with a water-based lubricant.
- Keep a wide range of clamp sizes in stock.
- Punch holes the correct distance apart to avoid gaps or tearing.
- Use latex-free sheets for patients with latex allergy.
Choosing a Quality Rubber Dam Kit
- A punch with a hardened, sharp plunger for clean holes.
- Clamps made from spring steel that keep their grip over time.
- Clamp forceps with a smooth sliding lock.
- Autoclavable stainless steel components.
Rubber Dam Kit Care and Maintenance
Clean the punch plunger and table regularly to remove rubber fragments. Sterilize clamps and forceps after each patient. Also, check clamps for cracks or loss of tension, and replace them when needed, because a weak clamp can slip.
Rubber Dam in Restorative Workflows
Isolation is the first step in many restorative procedures. After placing the dam, you can use a matrix band retainer for Class II cavities and a composite filling set to place and shape the restoration.
Want to learn more about the background? Read this overview of dental dams on Wikipedia. When you are ready to buy, our team will help you choose the right rubber dam kit for your clinic.
Rubber Dam Kit FAQs
How long does rubber dam placement take?
With practice, most clinicians can place a dam in one to two minutes.
Is rubber dam necessary for root canal treatment?
Rubber dam isolation is widely regarded as the standard of care in endodontics.
Can I buy clamps separately?
Yes. Aurix International supplies complete kits and individual clamps in bulk.
View our full rubber dam kit in our catalogue range.
Order A Rubber Dam Kit from Aurix International
Aurix International manufactures dental and surgical instruments in Sialkot, Pakistan, and supplies clinics, hospitals and distributors worldwide. We offer wholesale pricing, private labelling, custom kits and flexible order quantities. Need a mixed tray? Try our Medical Kit Builder, or contact us today for a fast quote.