Tooth-coloured composite fillings are now the most common restoration in many clinics. However, a great composite restoration depends on more than the resin itself. The hand instruments you use to place, pack, shape and polish the material have a direct effect on contact points, margins and the final look. That is why many dentists prefer a complete composite filling set instead of a random mix of single tools. In this article, we share a practical checklist of what a good set should include and how to choose one.

Why Use a Matched Composite Filling Set?
A matched set gives you instruments with the same quality, finish and handle design. As a result, your hand feels the same feedback from one tool to the next. In addition, a set keeps your tray organized, so your assistant can find each instrument quickly. Over time, this saves chairside minutes on every restoration.
The Essential Composite Filling Set Checklist
1. Plastic Filling Instruments
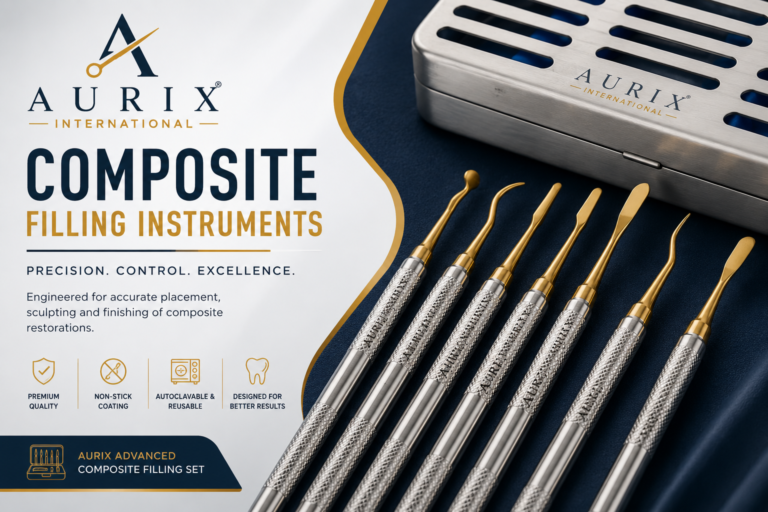
These double-ended tools carry composite from the pad to the cavity. One end is usually a flat blade, while the other is a small condenser or ball. In addition, look for thin, smooth blades that slide easily into the preparation.
2. Condensers and Pluggers
Condensers pack each layer of resin firmly against the cavity walls. Round and oval heads in two or three sizes cover most cases. A smooth face helps prevent the material from sticking.
3. Burnishers
Ball and egg-shaped burnishers smooth the surface and adapt the material to the margins. They also help shape occlusal anatomy before curing.
4. Carvers
Carvers such as the Hollenback or Cleoid-Discoid remove excess material and create natural fissures and cusps.
5. Composite Spatulas
Thin, flexible spatulas are useful for mixing, handling and shaping resin on anterior teeth. Also, many dentists like a spatula with a non-stick coating.
6. Interproximal Instruments
Fine, thin blades help remove flash between teeth and refine proximal contours without damaging the gum.
Features to Look For in a Composite Filling Set
- Non-stick surface: Highly polished or coated tips stop the resin from pulling away as you lift the instrument.
- Fine, thin tips: Delicate tips give better access to small anterior preparations and Class V cavities.
- Corrosion resistance: Quality stainless steel withstands repeated autoclaving without pitting.
- Light, balanced handles: Hollow or resin-core handles reduce fatigue during long restorative sessions.
- Clear identification: Numbered or colour-coded handles make it easier to pick the right tool fast.
How a Set Fits Into a Class II Workflow
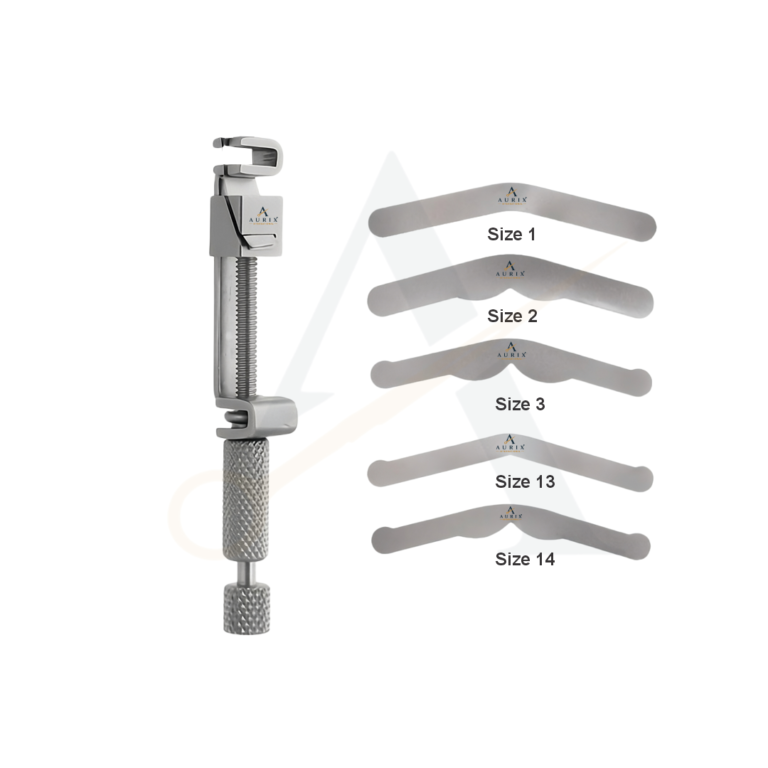
A typical Class II composite restoration involves several steps. First, you isolate the tooth, ideally with a rubber dam kit. Next, you place a matrix band using a matrix band retainer and a wedge. Then, you place and pack composite in small increments with your filling instruments and condensers. After that, you shape the surface with burnishers and carvers before final curing. Finally, you finish and polish.
Because each step uses a different tool, a well-planned composite filling set makes the whole process smoother.
Single Instruments vs Complete Sets
Single instruments are useful when you want to replace one worn tool or try a new pattern. However, complete sets offer better value for new clinics, dental schools and busy practices. Furthermore, distributors often prefer sets because they are easier to stock and sell.
Care Tips for Composite Instruments
- Wipe off resin before it cures on the tip, because cured composite is hard to remove.
- Avoid harsh abrasives that can scratch the polished surface.
- Use an ultrasonic cleaner, then dry fully before sterilization.
- Store the set in a cassette to protect the fine tips.
Want to learn more about the background? Read this overview of dental composite on Wikipedia. When you are ready to buy, our team will help you choose the right composite filling set for your clinic.
Composite Filling Set FAQs
How many instruments should a composite filling set have?
Most practical sets have between 5 and 10 instruments. Moreover, this covers placement, packing, shaping and finishing without cluttering the tray.
Are coated instruments better than polished steel?
Both work well. Coated tips reduce sticking even more, while polished steel is very durable and easy to maintain.
Can I get a custom set?
Yes. Aurix International can build a set with the exact patterns your clinic uses, including private labelling for distributors.
In fact, explore our full composite filling set collection in our catalogue to upgrade your restorative tray.
Order A Composite Filling Set from Aurix International
Aurix International manufactures dental and surgical instruments in Sialkot, Pakistan, and supplies clinics, hospitals and distributors worldwide. We offer wholesale pricing, private labelling, custom kits and flexible order quantities. Need a mixed tray? Try our Medical Kit Builder, or contact us today for a fast quote.