In the posterior maxilla, bone height is often too low for implant placement because of the maxillary sinus. A sinus lift raises the sinus membrane and creates space for bone graft material. Also, the procedure relies on specialised instruments designed to lift the delicate membrane without tearing it.
Two main approaches
Lateral window technique
A window is created in the lateral wall of the sinus. In addition, curved elevators are passed through the window to lift the membrane from the sinus floor, and graft material is packed into the space. Used when a large amount of bone height is needed.
Crestal (osteotome) technique
Generally, access is through the implant site on the ridge crest. Additionally, osteotomes are tapped gently to push the sinus floor upward. Suitable for smaller height increases.
Instruments in a sinus lift kit
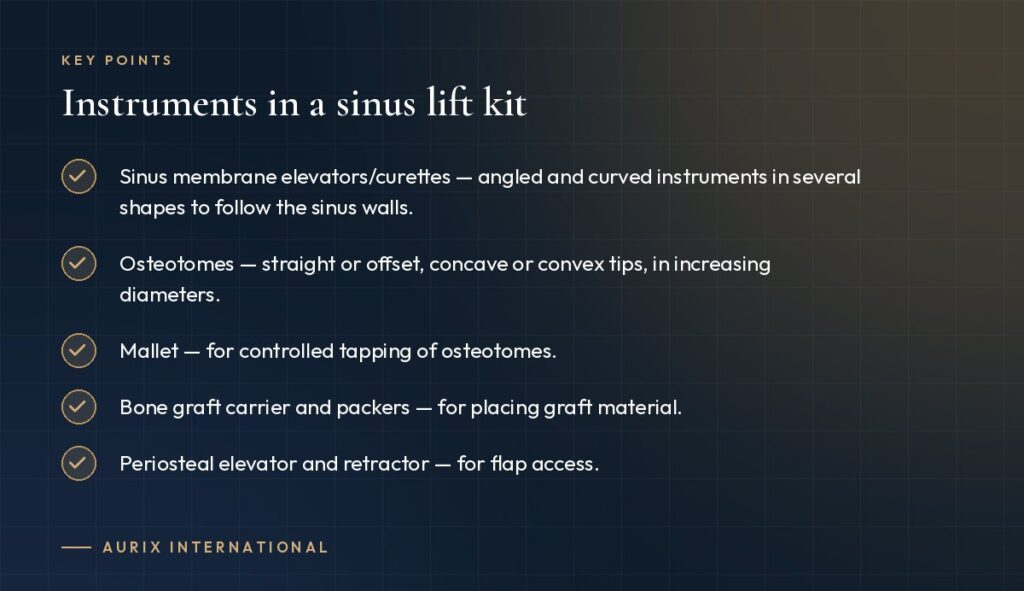
- Sinus membrane elevators/curettes — angled and curved instruments in several shapes to follow the sinus walls.
- Osteotomes — straight or offset, concave or convex tips, in increasing diameters.
- Mallet — for controlled tapping of osteotomes.
- Bone graft carrier and packers — for placing graft material.
- Periosteal elevator and retractor — for flap access.
What to look for
- In general, smooth, rounded edges on membrane elevators to reduce perforation risk.
- Clear depth markings on osteotomes.
- A variety of angles to reach anterior, posterior and medial walls.
- A cassette that keeps instruments organised in sequence.
Care
Generally, membrane elevators must stay smooth. Inspect them for nicks or burrs under magnification, as any roughness increases the risk of tearing the membrane.
Aurix International lists sinus lift kits in its catalogue. Contact us for kit contents and availability.
This article is for general information about instruments and is not a substitute for clinical training.