Molars are the most demanding teeth to extract. In addition, they have multiple roots, sit far back in the mouth and are often heavily restored. Additionally, molar forceps are designed around those challenges, and understanding the beak shapes helps you choose the right instrument for each case.
Upper molar forceps
Upper first and second molars typically have three roots. Also, upper molar forceps are made in pairs, left and right. The buccal beak is pointed so it can seat between the mesiobuccal and distobuccal roots; the palatal beak is rounded to cup the single palatal root. Getting the side right matters: a reversed forceps sits on the crown, not the roots, and is far more likely to fracture the tooth.
Bayonet forceps for upper third molars
Bayonet patterns have an offset between handles and beaks. The offset lets the beaks reach the back of the upper arch while the handles stay clear of the lower teeth. They are also useful for upper roots and premolars when access is restricted.
Lower molar forceps
Lower molars have two roots, mesial and distal, so lower molar forceps have two pointed beaks that engage the bifurcation from the buccal and lingual sides. Also, one pattern works on both sides of the mouth.
Cowhorn forceps
Cowhorn forceps have long, sharply pointed beaks that are pushed into the bifurcation. As the handles are squeezed and the beaks move apically, they create an elevating force that lifts the tooth. They are excellent for lower molars with healthy furcations, but should be used with care where bone is thin.
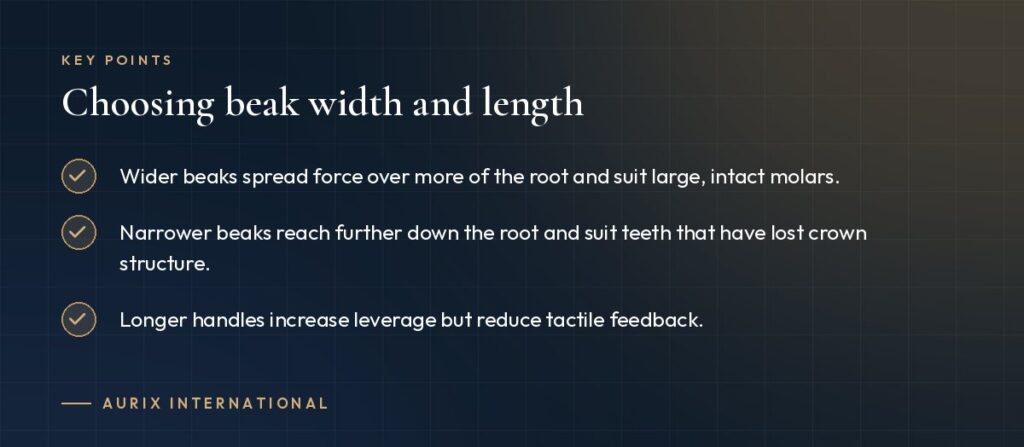
Choosing beak width and length
- Wider beaks spread force over more of the root and suit large, intact molars.
- Narrower beaks reach further down the root and suit teeth that have lost crown structure.
- Longer handles increase leverage but reduce tactile feedback.
Technique tips that protect the instrument
- Luxate first with an elevator so the forceps does not have to do all the work.
- Seat the beaks as far apically as possible before applying force.
- Use slow, controlled buccal and lingual movements rather than sudden twisting.
- Never use forceps as a lever against neighbouring teeth.
Building a molar set
A balanced molar set usually includes upper left and right molar forceps, an upper third molar or bayonet pattern, a lower molar pattern and a cowhorn. Add a root-tip forceps for fragments.
Aurix International can assemble molar forceps into a dedicated cassette as part of a custom kit. Ask our team for advice on patterns.