A pair of extraction forceps looks simple, but making one that grips precisely, moves smoothly and survives years of sterilisation involves many careful steps. Here is an overview of a typical manufacturing process.
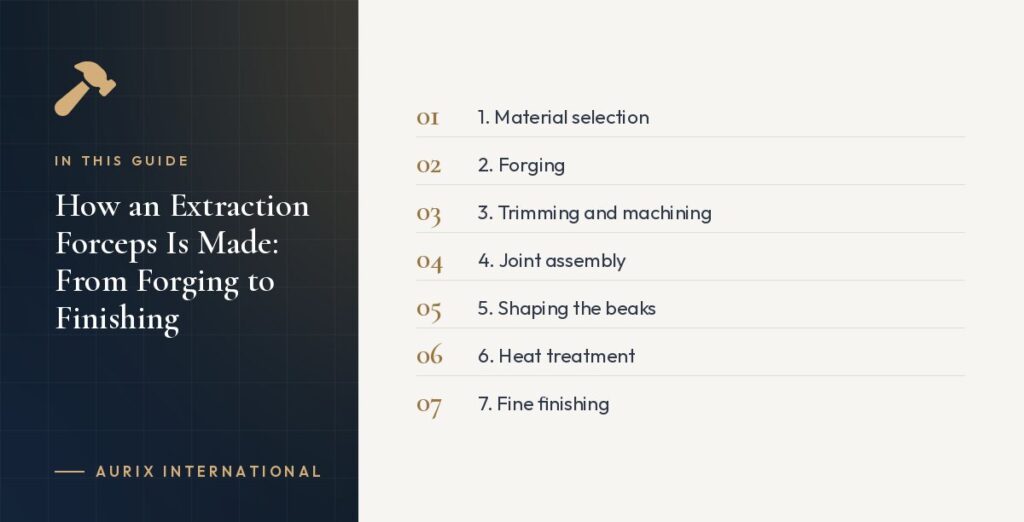
1. Material selection
The maker selects bars of martensitic stainless steel and checks them for grade.
2. Forging
Next, workers heat the steel and drop-forge it into the rough shape of each half of the forceps. In addition, forging aligns the grain structure of the metal, improving strength.
3. Trimming and machining
Then they trim the excess metal (flash). After that, precise machining shapes the joint area so the two halves fit together precisely.
4. Joint assembly
Technicians then assemble the halves at the box joint or screw joint and rivet or fix them. Also, the fit of the joint determines how smoothly the forceps will move and whether it will develop play.
5. Shaping the beaks
Skilled grinders shape and file the beaks to the correct pattern and cut the serrations. Additionally, this step requires considerable skill; beak shape determines how well the forceps grips the root.
6. Heat treatment
Heat treatment then hardens and tempers the instrument to achieve the correct balance of hardness and toughness.
7. Fine finishing
Craftsmen file and adjust the joint and beaks by hand, checking alignment and smoothness.
8. Polishing
Afterwards, polishers give the forceps a satin or mirror finish.
9. Passivation
A chemical treatment removes free iron from the surface and strengthens the protective chromium oxide layer.
10. Marking
A laser usually adds the pattern number and brand mark.
11. Inspection
Finally, inspectors check each instrument for function, alignment, finish and defects before packaging.
Why it matters
Shortcuts at any step — poor forging, rushed heat treatment, skipped passivation — show up later as cracks, rust or poor grip. Also, knowing the process helps buyers ask the right questions.
Learn more about Aurix’s manufacturing heritage.