Sterilisation only protects patients if instruments stay sterile until they are used. Correct packaging maintains sterility during storage and allows aseptic opening at the chairside.
Packaging options
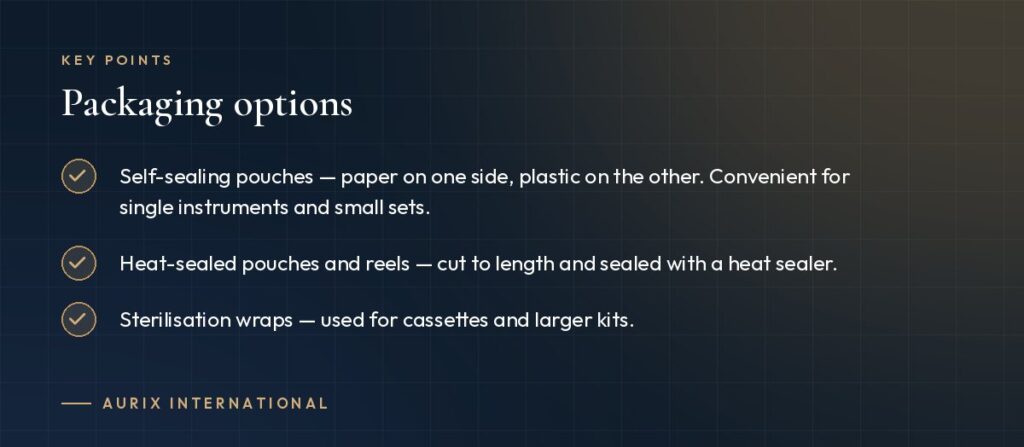
- Self-sealing pouches — paper on one side, plastic on the other. Convenient for single instruments and small sets.
- Heat-sealed pouches and reels — cut to length and sealed with a heat sealer.
- Sterilisation wraps — used for cassettes and larger kits.
Packaging step by step
- Make sure instruments are clean, dry and inspected.
- Open hinged instruments; protect sharp tips with tip guards if needed.
- Choose a pouch large enough that instruments do not stretch the seal.
- Place an internal chemical indicator if the pouch does not have one.
- Seal fully, without creases or channels in the seal.
- Label with the date, autoclave or cycle number, and contents or kit name.
Wrapping cassettes
Use an envelope or square fold with two layers of wrap (or as recommended by the wrap manufacturer), and secure with indicator tape.
Common mistakes
- Overfilling pouches, which tears seals.
- Writing on the paper side with ink that can bleed.
- Packaging wet instruments.
- Stacking pouches flat in the autoclave, which traps air and moisture.
Storage
Store sterile packs in a clean, dry, enclosed area away from sinks. Use stock rotation (first in, first out) and inspect packs before use: a torn, wet or dirty pack must be reprocessed.
Opening at the chairside
Open packs in front of the patient where possible. It reassures patients and confirms that the indicator has changed.
Using cassettes reduces packaging time. All Aurix kits are supplied in sterilisation cassettes.