
The most important step in instrument care happens before instruments reach the sterilisation room. Blood, saliva, cement and bone debris that dry on instruments are harder to remove, can protect micro-organisms during sterilisation and cause staining and corrosion.
At the chairside
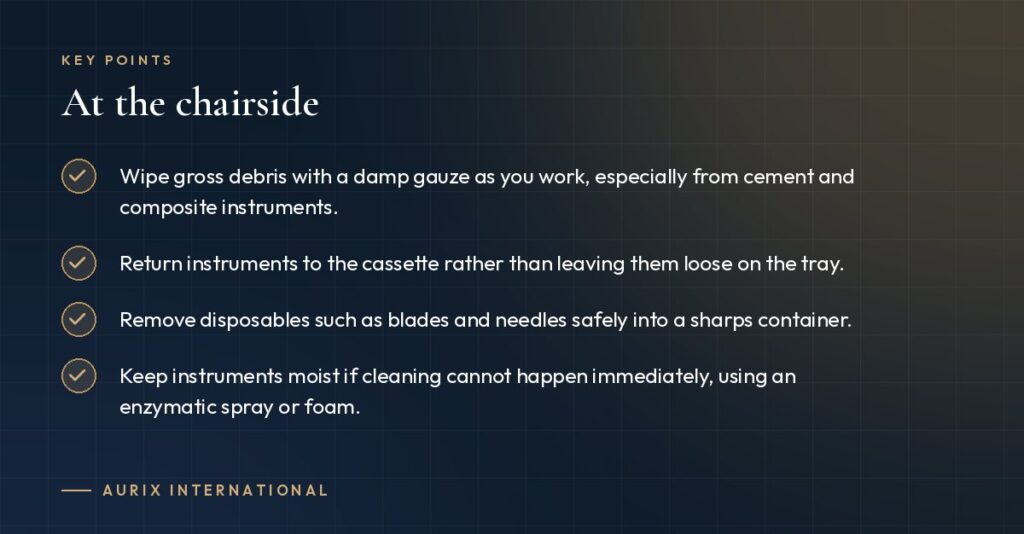
- Wipe gross debris with a damp gauze as you work, especially from cement and composite instruments.
- Return instruments to the cassette rather than leaving them loose on the tray.
- Remove disposables such as blades and needles safely into a sharps container.
- Keep instruments moist if cleaning cannot happen immediately, using an enzymatic spray or foam.
Transport
Close the cassette or place instruments in a covered container and carry them to the decontamination area. Never carry loose sharp instruments in your hands.
In the decontamination area
- Wear heavy-duty gloves, eye protection and an apron.
- Open hinged instruments.
- Clean using an ultrasonic cleaner or washer-disinfector. Manual scrubbing should be a last resort, using a long-handled brush below the water surface.
- Rinse thoroughly to remove detergent.
- Dry completely before inspection and packaging.
Common mistakes
- Letting instruments sit dry for hours before cleaning.
- Soaking in saline or bleach, which causes pitting and corrosion.
- Using household detergents that leave residues.
- Skipping the drying step, leading to spotting and rust.
Why it matters for instrument life
Dried debris can cause staining and pitting that is mistaken for poor-quality steel. Prompt cleaning is the cheapest way to make instruments last.
Follow your local infection-control guidance and the instrument manufacturer’s instructions. See also: ultrasonic cleaning do’s and don’ts.