No two clinicians work exactly the same way. A custom instrument kit puts exactly the instruments you use, in the order you use them, into one cassette. Here is how to design one.
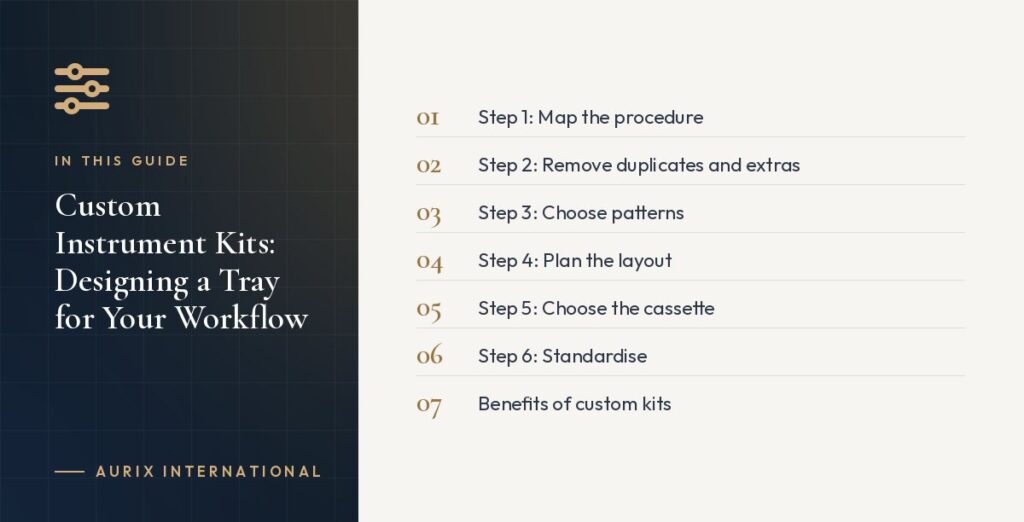
Step 1: Map the procedure
Write down each step of the procedure in order and list the instruments used at each step. For a surgical extraction this might be: anaesthesia, incision, flap reflection, luxation, elevation, delivery, debridement, closure.
Step 2: Remove duplicates and extras
Look at your current trays and identify instruments that are never used. Removing them shortens reprocessing time and reduces cost.
Step 3: Choose patterns
For each instrument, choose the specific pattern you prefer: for example, a Molt No. 9 periosteal elevator, a Minnesota retractor, or a Crile-Wood needle holder.
Step 4: Plan the layout
Arrange instruments in the order of use from left to right. Keep fine instruments in protected positions and hinged instruments where they can stay open.
Step 5: Choose the cassette
Select a cassette size that holds the instruments without crowding and fits your autoclave.
Step 6: Standardise
Once the kit is finalised, order identical kits for every room and create a photo checklist for the sterilisation area.
Benefits of custom kits
- Faster set-up and assisting.
- Less waste and fewer unused instruments to reprocess.
- Consistent quality across rooms and clinicians.
- Easier training for new team members.
Custom branding
Distributors and larger groups can also have kits branded with their own name or logo through private label services.
Start designing your kit in the Aurix kit builder: search over 500 instruments, arrange your tray and receive a quote, typically within 48 hours.